What Is External Thermal Insulation (ETICS)?
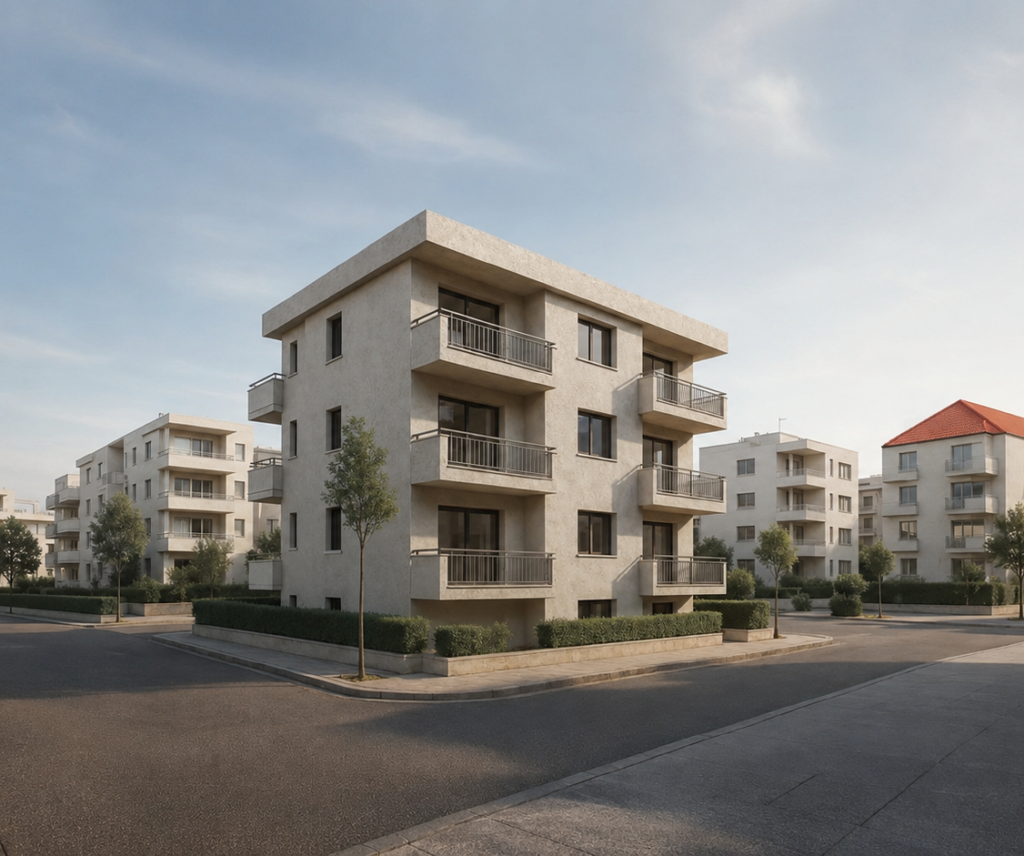
External thermal insulation is an insulation system installed on the exterior of a building’s walls, rather than inside the house. Essentially, the entire building envelope is “wrapped” with insulating material, preventing the walls from being directly exposed to external temperature fluctuations. The result is twofold: the building maintains a more stable indoor temperature throughout the year, with reduced need for heating or air conditioning, while at the same time the walls are protected long-term from rain, moisture, and intense sun exposure. Since the entire installation is carried out externally, the interior of the house remains unaffected — no space is lost, furniture does not need to be moved, and no work is required inside your living areas.
What Are the Advantages of External Thermal Insulation?
- Energy Savings of up to 60%
- Protection Against Weather Conditions
- Stable Temperature Throughout the Year
- Suitable for Every Building
- Aesthetic Upgrade
- Upgrades the Building’s Energy Efficiency
- Resistance to Thermal Expansion and Contraction
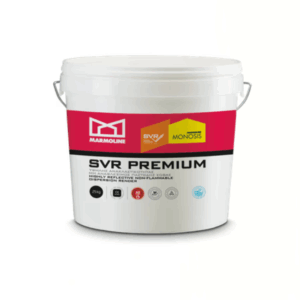
- High reflectivity, even in dark shades, ensuring colour stability with the SVR COOL FACADE colouring system
- Hundreds of shades and various grain sizes, from smooth to textured finishes
The Classic External Thermal Insulation System
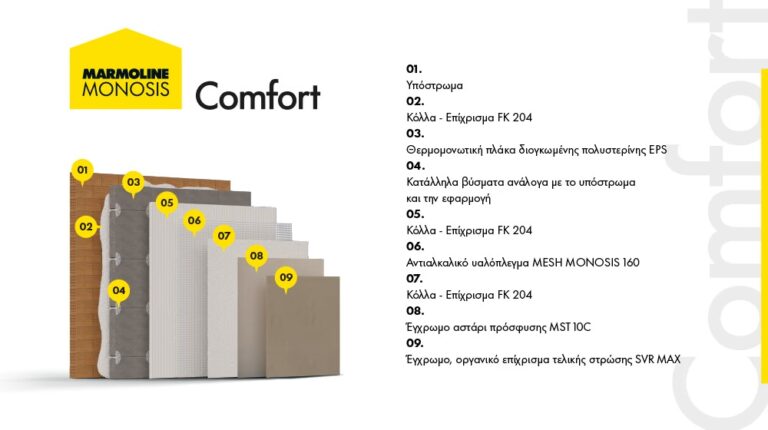
Affordable and Certified External Thermal Insulation System The energy efficiency of a building plays a crucial role in reducing operating costs while also improving the quality of life of its occupants. Especially for an average family, thermal insulation is not a luxury — it is a necessity. The MARMOLINE MONOSIS COMFORT system is a modern, reliable, and cost-effective solution for residential applications and apartment buildings, particularly in urban areas. It has been designed to provide maximum thermal protection, long-term durability, and aesthetic flexibility with a wide range of colour options.
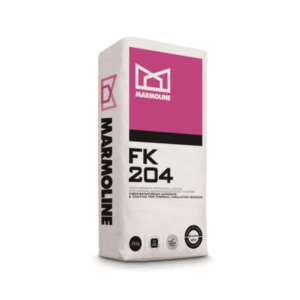
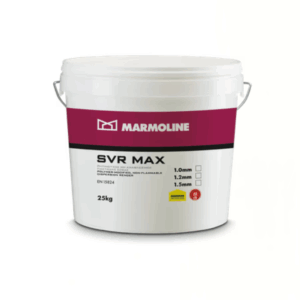
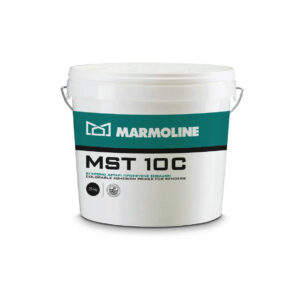
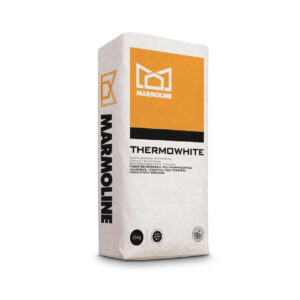
MARMOLINE MONOSIS COMFORT System Products
MARMOLINE MONOSIS System Application Steps
Step 1
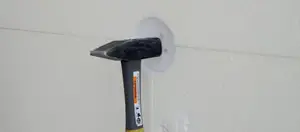
- Το σύστημα μπορεί να εφαρμοστεί σε διαφορετικές επιφάνειες – υποστρώματα, αφού προηγουμένως ελεγχθούν ως προς τη σταθερότητα, καθαριότητα, απορροφητικότητα και στεγανότητά τους και προετοιμαστούν ανάλογα.
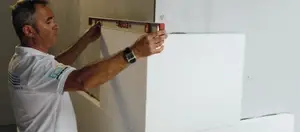
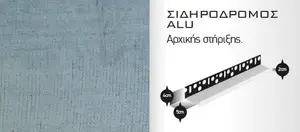
- Ξεκινάμε τοποθετώντας οδηγό στήριξης για τις πλάκες.
Step 2
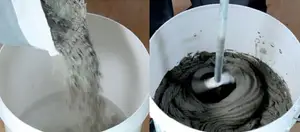
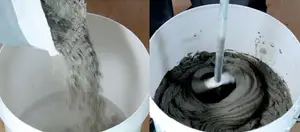
- Αναμιγνύουμε την κόλλα FK 204 ή THERMOWHITE µόνο µε νερό σε καθαρό κάδο.
- Αναδεύουμε καλά µε ηλεκτρικό δράπανο.
Step 3
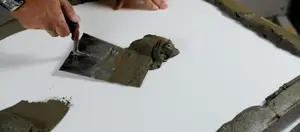
- Απλώνουµε την κόλλα περιµετρικά πάνω στη θερµοµονωτική πλάκα, βάζοντας και «στάµπες» σε διάφορα σηµεία στο εσωτερικό της, ώστε να καλύπτεται τουλάχιστον το 60% της επιφάνειάς της.
Step 4
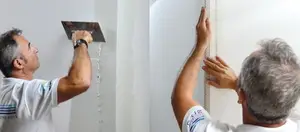
- Τοποθετούµε τις πλάκες από κάτω προς τα πάνω, σταυρωτά και χωρίς κενά (όπως και στο χτίσιµο της τοιχοποιίας).
Step 5
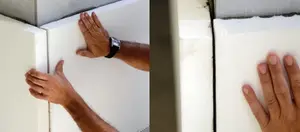
- Στις γωνίες τοποθετούµε τις πλάκες χωρίς κόλλα στην άκρη τους, για αποφυγή δηµιουργίας θερµογέφυρας.
Step 6
- Τοποθετούμε ειδικά καρφιά στήριξης για επιπλέον μnχανικη στήριξn, τουλάχιστον στα σημεία στα οποία οι πλάκεs διασταυρώνονται. Προnγουμένωs, πρέπει n κόλλα να έχει στεγνώσει και αποκτήσει αρχικέs αντοχέs.
Step 7
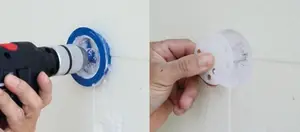
- Γεμίζουμε το κενό με ειδική τάπα πολυστερίνης.
Step 8
- Αναμιγνύουμε τnν κόλλα/επίχρισμα FK 204 or THERMOWHITE μόνο με νερό σε καθαρό κάδο
Step 9
- Ενισχύουμε τιs ευπαθείs περιοχέs [γωνίεs-παράθυρα-πόρτεs] με γωνιόκρανα, νεροσταλάκτεs και λοιπά ειδικά τεμάχια.
Step 10
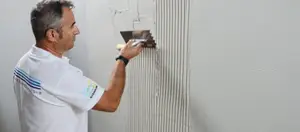
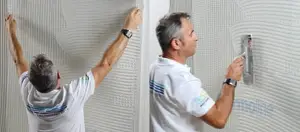
- Εφαρμόζουμε την κόλλα/επίχρισμα FK 204 or THERMOWHITE σε όλη την επιφάνεια με κατάλληλη οδοντωτή σπάτουλα.
Step 11
- Τοποθετούμε κατάλληλο υαλόπλεγμα και το εμβαπτίζουμε στην κόλλα ώστε να καλυφθεί τελείως.
- Ενισχύουμε τις ακμές στα κουφώματα τοποθετώντας διαγωνίως κομμάτια υαλοπλέγματος.
- Περιμένουμε να στεγνώσει καλά η κόλλα (5 έως 20 ημέρες αναλόγως των καιρικών συνθηκών).
Step 12
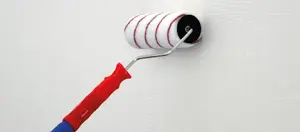
- Εφαρμόζουμε το αστάρι MST 10C για να ενισχύσουμε και να σταθεροποιήσουμε την επιφάνεια πριν την εφαρμογή του σοβά.
Step 13
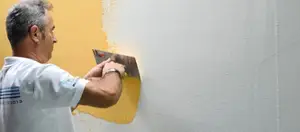
- Λίγο πριν στεγνώσει εντελώς το αστάρι, εφαρμόζουμε τον ρητινούχο σοβά SVR SPECIAL / SVR MAX.
- Εναλλακτικά, μπορεί να εφαρμοστεί ο σιλικονούχος σοβάς SVR SILICONE (κοκκομετρίας 1,5mm).
- Η εφαρμογή γίνεται με σπάτουλα και κινήσεις από κάτω προς τα πάνω.
Step 14
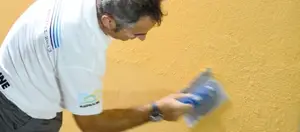
- Αφού εφαρμοστεί ο σοβάς τον τρίβουμε με πλαστική σπάτουλα για να αποκτήσει σωστό φινίρισμα.
Step 15
- Η επιφάνεια που λαμβάνουμε είναι τελική και δεν χρειάζεται βάψιμο.
Request a Free Assessment for Your Building
A qualified engineer will contact you to discuss your project and recommend the right solution.
- No Obligation
- Cost Estimate per Square Metre